The quality and sheer depth of available resources has changed by orders of magnitude since the time I first bought some Hinchliffe Napoleonics way way back. I'm guessing Games Workshop ( a lightning rod for many people) had much to do with this as they explored the world of plastics after buying Citadel Miniatures. Even in the area of materials for basing the figures there have been changes. The recent release of Army Painters "tufts" has brought a new dimension to my bases.
Since this is my first post I had thought I would talk about some miniature I had painted recently but I'm actually going to show a picture of a scenic item I built. If you haven't heard of Hirst Arts before I suggest you check out the site Hirst Arts
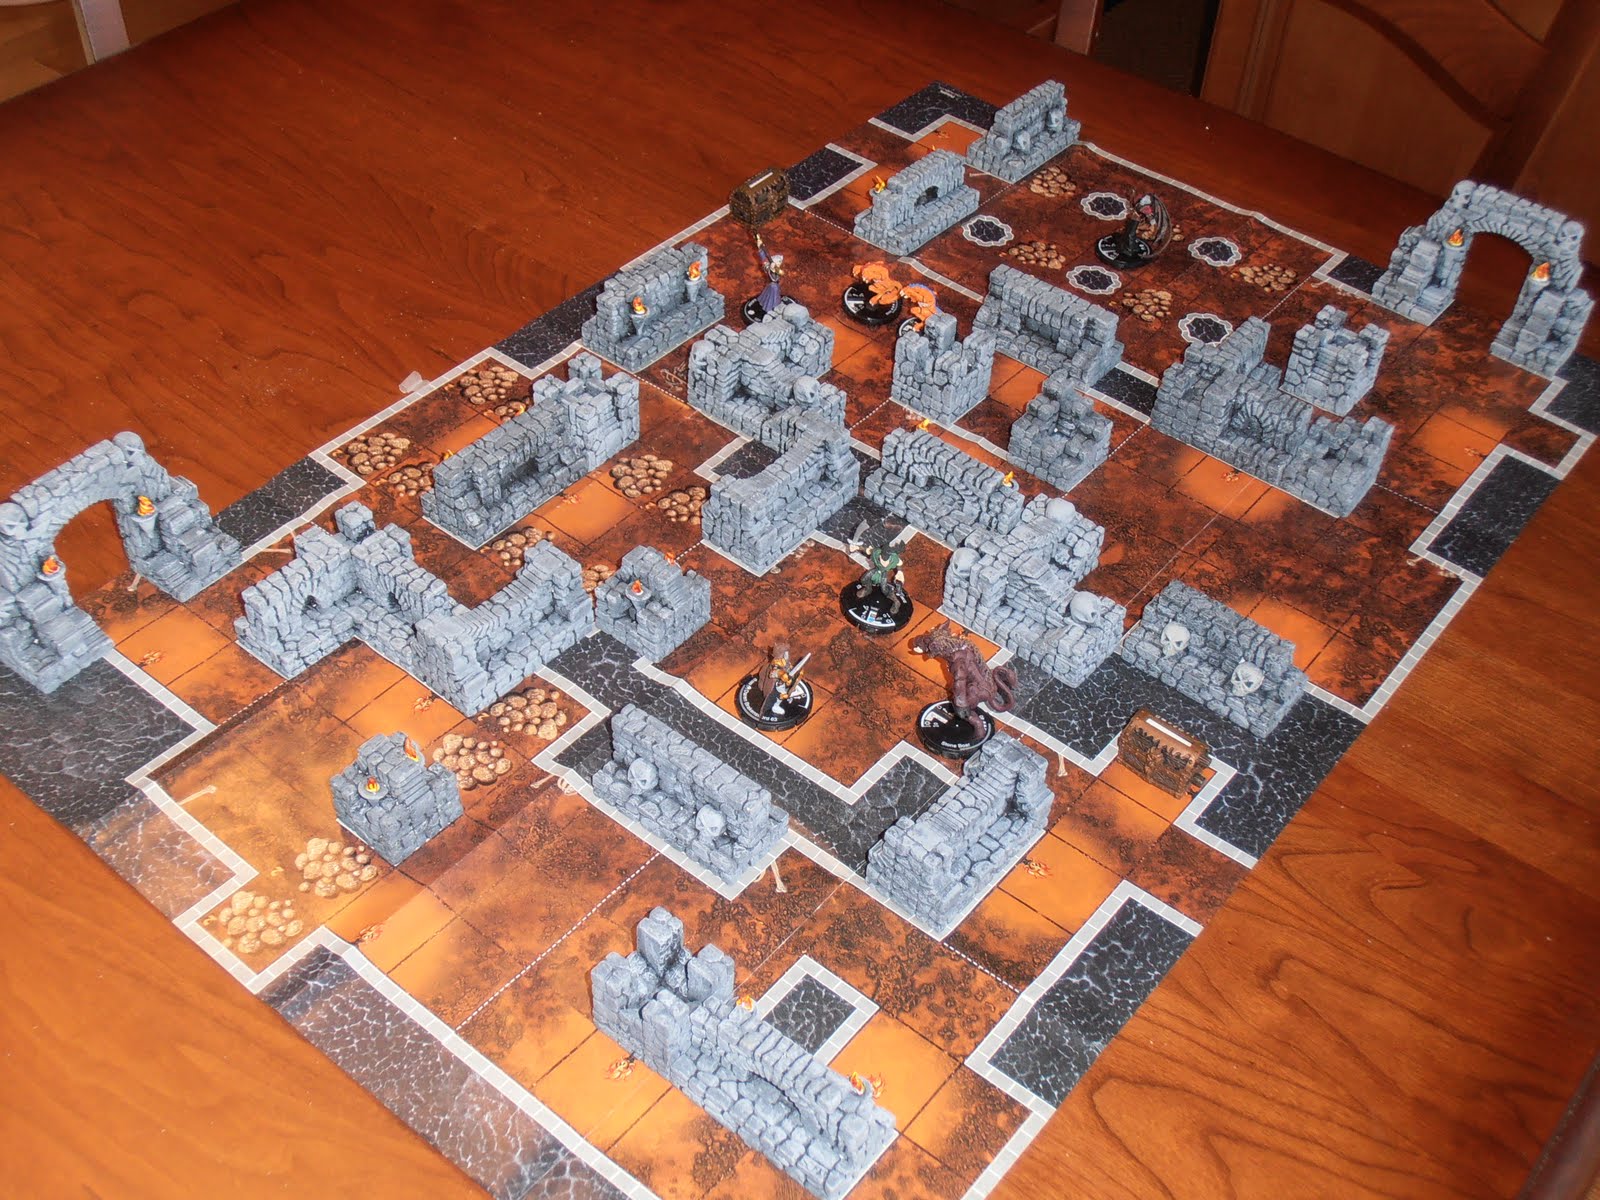
While browsing the net looking for ressources I could use I came across this part of the hobby which simply fascinated me. I dipped my toe in the water by purchasing two molds. The first was to build dungeon walls for a Mage Knight Dungeon game, the other was to build a Ruined Tower for Lord Of The Rings (LOTR) games.
Here is the result of building the dungeon walls.
If you decide to give this a shot I highly recommend following Bruce Hirsts directions on casting using the wet water method. This avoids almost every blemish in the casting process and is actually very easy. "Wet water" you ask? Read the directions :-)
Painting was also straightforward although the paint had to be thin to get it in to all the joints between the pieces. I used a black undercoat and then went with three successive layers of dry brushed on greys to get the depth. Worked out fine and I actually ended up selling this on eBay for a nice price.